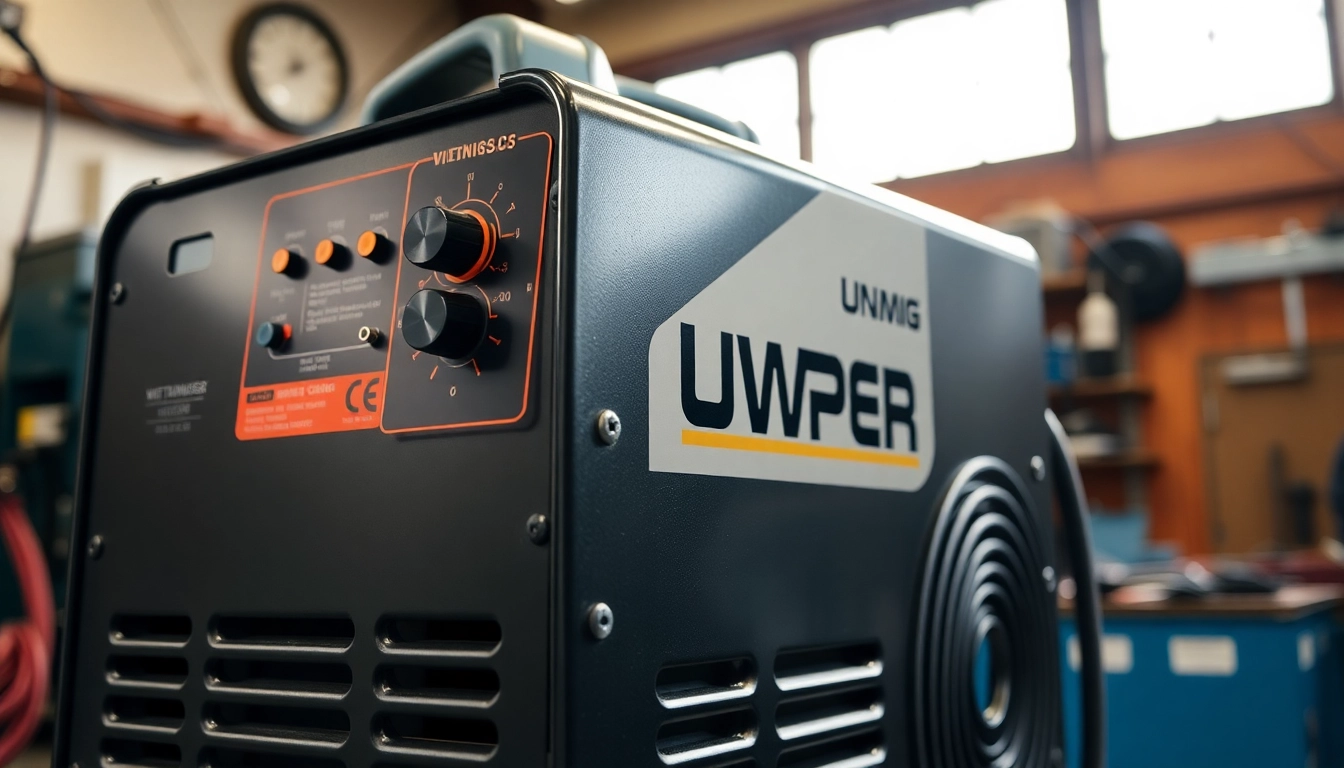
Introduction to the Unimig Viper Series
The welding industry is constantly evolving, with various equipment options available to meet the diverse needs of hobbyists and professionals alike. One notable line is the unimig viper series, which stands out for its versatility and efficiency. Designed for MIG, TIG, and stick welding processes, the Unimig Viper series provides users with the ability to tackle a wide range of welding projects, whether at home or on the job site.
Overview of Welder Types: MIG, TIG, Stick
Understanding the different types of welding is crucial for selecting the right machine. MIG (Metal Inert Gas) welding is particularly favored for its speed and ease of use, making it ideal for beginners and for projects involving thin materials. TIG (Tungsten Inert Gas) welding, on the other hand, offers precise control over the weld pool, allowing for excellent results on a variety of metals, including aluminum. Lastly, stick welding (SMAW) is often preferred for outdoor tasks due to its resistance to wind and contamination. The Unimig Viper series accommodates all three processes, ensuring users can seamlessly switch between them as needed.
Why Choose a Unimig Viper Welder?
The Unimig Viper welders are built with user-friendliness and durability in mind. They are designed to operate on standard 10-amp plugs, enhancing portability and convenience, especially for DIY projects and occasional welding tasks. The compact design does not compromise on power, making the Unimig Viper models well-suited for both novice welders and seasoned professionals. Furthermore, they come equipped with features such as synergic controls, which simplify the adjustment of welding parameters, ensuring optimal performance without extensive technical knowledge.
Key Applications for the Unimig Viper
Unimig Viper welders are widely used in various applications, including automotive repair, metal fabrication, and home projects. Whether you need to weld thin sheet metal or heavier components, these machines provide adaptability across different materials and thicknesses. Popular among hobbyists, tradespeople, and professionals, the Viper series can efficiently handle tasks ranging from minor repairs to intricate fabrication.
Specifications of Unimig Viper Models
Detailed Specs of the Unimig Viper 185
The Unimig Viper 185 is a standout model in the series, boasting impressive specifications that cater to a variety of welding tasks. Here are its key specs:
- Welding Type: MIG, TIG, Stick
- Welding Current Range: 30 to 185 amps
- MIG Wire Size Range: 0.6mm to 0.9mm
- Weight: Approximately 14 kg
- Power Supply: 10A plug
- Duty Cycle: 25% at 185A
These specifications highlight the Viper 185’s capability to weld materials up to 10mm thick, while also being lightweight and portable, ideal for both workshop and site use.
Performance Comparison Across Viper Models
The Viper series includes various models such as the Viper 135, 165, and 195, each tailored for specific needs. The Viper 135 is significantly lighter, making it the most portable option, while the Viper 195 offers higher output for more demanding tasks. Here’s a comparison of each model:
| Model | Amperage Range | Weight | Duty Cycle |
|---|---|---|---|
| Viper 135 | 30 – 135A | 5 kg | 30% at 135A |
| Viper 165 | 30 – 165A | 10 kg | 25% at 165A |
| Viper 185 | 30 – 185A | 14 kg | 25% at 185A |
| Viper 195 | 30 – 195A | 15 kg | 25% at 195A |
When selecting a model, consider the welding tasks at hand to determine which Viper machine meets your requirements for power, portability, and versatility.
Understanding Power Requirements for the Unimig Viper
Utilizing a Unimig Viper welder requires knowledge of power specifications to ensure optimal performance. The Viper models operate on a standard 10-amp household plug, making them suitable for general use. It’s critical to ensure that your electrical supply can handle the amperage during operation, particularly in continuous welding tasks to prevent tripping the circuit breaker. Understanding the duty cycle is also essential—this indicates how long the welder can operate at a specified amperage before overheating. Regular pauses during longer jobs are advisable to maintain safety and equipment longevity.
Setup and Configuration of the Unimig Viper
Step-by-Step Installation Guide
Setting up your Unimig Viper is a straightforward process. Here’s how to get started:
- Choose a Suitable Location: Find a well-ventilated area with a stable power source.
- Assemble the Welder: Ensure all parts are included and securely assembled according to the user manual.
- Connect to Power Supply: Plug the machine into a 10A power outlet, ensuring the socket can handle the welder’s power requirements.
- Set Up Gas Supply (for MIG and TIG): Connect the shielding gas cylinder to the welder, ensuring that the regulator is set appropriately.
- Load Wire Feed: Depending on process type, load the appropriate MIG wire and set the proper tension for the wire feed.
- Adjust Settings: Set your machine parameters based on the material thickness and welding position.
Adjusting Settings for Optimal Performance
To achieve the best welds with the Unimig Viper, understanding how to optimize settings is crucial. The welder’s synergic controls automatically adjust voltage and wire speed based on the selected amperage. However, for unique applications, manual adjustments may be needed:
- Voltage Settings: Higher voltage settings are recommended for thicker materials, while lower settings work better for thin sheets.
- Wire Speed: This should be calibrated to match the welding operation; too fast can lead to burn-through, while too slow may result in poor penetration.
- Shielding Gas Flow Rate: Adjust the flow to ensure proper protection of the weld pool from atmospheric contamination. A typical flow rate is around 10 to 15 liters per minute.
Fine-tuning these parameters will lead to cleaner and more effective welding results.
Common Issues and Troubleshooting Tips
Like any machinery, the Unimig Viper can encounter issues during operation. Familiarizing yourself with common problems and their solutions can save time and reduce frustration. Here are a few to consider:
- Inconsistent Arc: This may indicate a poor ground connection or worn-out welding tips. Check connections and replace tips as necessary.
- Wire Feed Problems: If the wire does not feed smoothly, inspect the wire spool tension and ensure the correct wire size is loaded without any tangles.
- Overheating: If the welder overheats, allow it to cool down as indicated by the duty cycle, and check for reliable power supply and ventilation. Regular pauses can also help manage heat buildup.
Best Practices for Using the Unimig Viper
Achieving Clean Welds with the Unimig Viper
For the best results, adhering to certain practices ensures clean, effective welds:
- Surface Preparation: Clean the materials thoroughly to remove rust, grease, and contaminants before welding.
- Correct Travel Speed: Maintain a steady, consistent speed while welding. Too fast can lead to undercuts; too slow risks burn-through.
- Use Appropriate Filler Material: Ensure that the filler wire matches the base metals for compatibility and optimal bonding.
- Visual Inspection: Regularly check your welds for consistency; look for uniform bead width and minimal spatter.
Safety Tips When Operating Your Welder
Safety is paramount in any welding operation. Adopting proper safety measures can prevent accidents:
- Personal Protective Equipment (PPE): Always wear suitable PPE, including welding helmets, gloves, and flame-resistant clothing.
- Ventilation: Ensure proper ventilation in your working area to avoid inhalation of harmful fumes.
- Check Equipment: Regularly inspect the welder and gas lines for leaks or damage before starting work.
- Fire Safety: Have a fire extinguisher readily available and keep flammable materials away from the work area.
Maintenance Tips for Longevity
Following a maintenance regimen can significantly extend the lifespan of your Unimig Viper welder:
- Clean the Machine: Regularly dust and clean the machine to prevent dust buildup which can affect performance.
- Inspect and Replace Parts: Periodically check the condition of hoses, torches, and tips and replace them as necessary.
- Check Electrical Connections: Ensure all connections are tight to avoid arc instability due to loose wires.
- Calibrate Settings: After extensive use, recalibrate settings to ensure optimal performance.
Conclusion: Is the Unimig Viper Right for You?
Summary of Key Benefits of the Unimig Viper
In conclusion, the Unimig Viper series represents a flexible and efficient solution for a wide array of welding tasks. Its ability to perform MIG, TIG, and stick welding on various materials makes it an ideal choice for DIY enthusiasts and professionals alike. The user-friendly controls and portable design further enhance its appeal, making it accessible for users at all experience levels.
User Feedback and Reviews
User reviews frequently highlight the Viper series’ adaptability and straightforward setup. Many users appreciate the consistent weld quality and ease of use, particularly for aluminum welding, a task that can be challenging with other machines. Overall satisfaction is reflected in its solid reputation within the welding community.
Considering Alternatives in the Market
While the Unimig Viper is a standout choice, comparing it with other well-respected brands, such as Miller, Lincoln, and Hobart, can help buyers make informed decisions. Each brand offers unique models with varying voltage outputs, duty cycles, and price points designed for specific needs. Researching and testing models in-house or through a welding supplier can provide insight into which machine best suits your specific welding requirements.